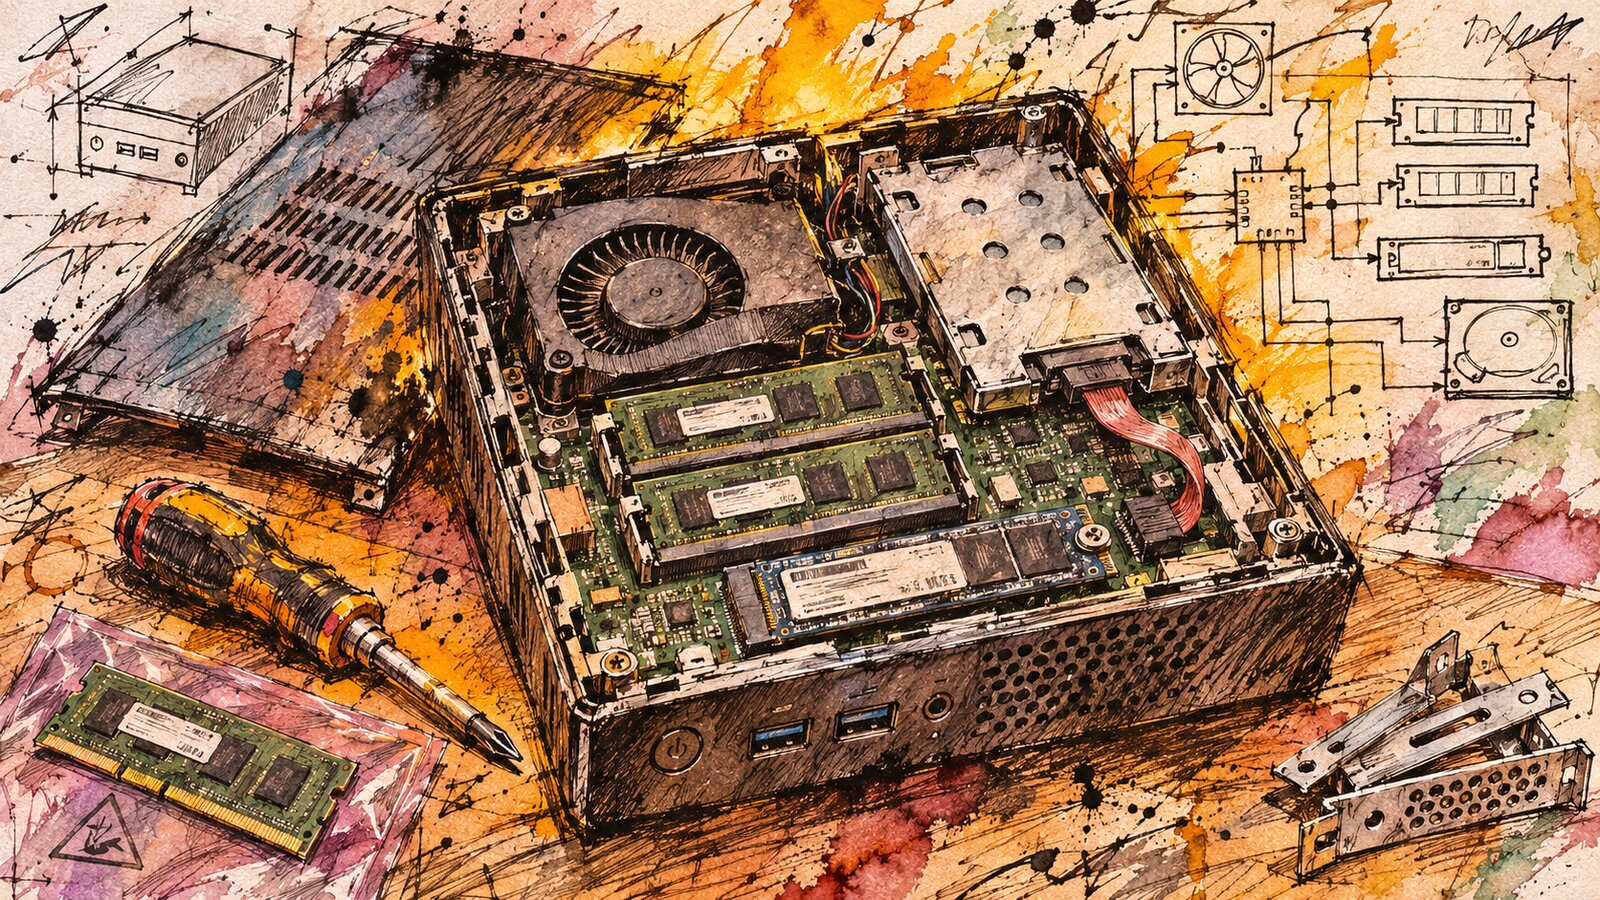
A missing drive caddy is an invitation. So is an empty memory slot, a dusty heatsink, or a compact office desktop whose corporate lease just ran out. On the workbench, the real question is what that hardware can become.
A retired small desktop can handle real work on a home network: filtering ad-serving domains for configured devices, coordinating smart-home hardware, hosting lightweight containers, or running disposable virtual machines for experiments you want off your primary workstation. Personal infrastructure often begins with hardware someone else finished using.
That is the draw of authorized corporate surplus: low acquisition cost paired with the satisfaction of building something capable from a screwdriver, a service manual, and an overlooked desktop.
Think TinyMiniMicro, then think beyond it#
In July 2020, Patrick Kennedy launched Project TinyMiniMicro at ServeTheHome, adopting 1-liter corporate desktops from Lenovo (Tiny), HP (Mini), and Dell (Micro) as homelab nodes.
A compact computer hosts useful network services without demanding a server rack. The project also noted the quirks of secondhand gear: “Some were missing parts as well. Others had very interesting default BIOS settings.”
Discovery quickly becomes practical engineering: inventory what arrived, note missing brackets, and match chassis capabilities to the intended workload.
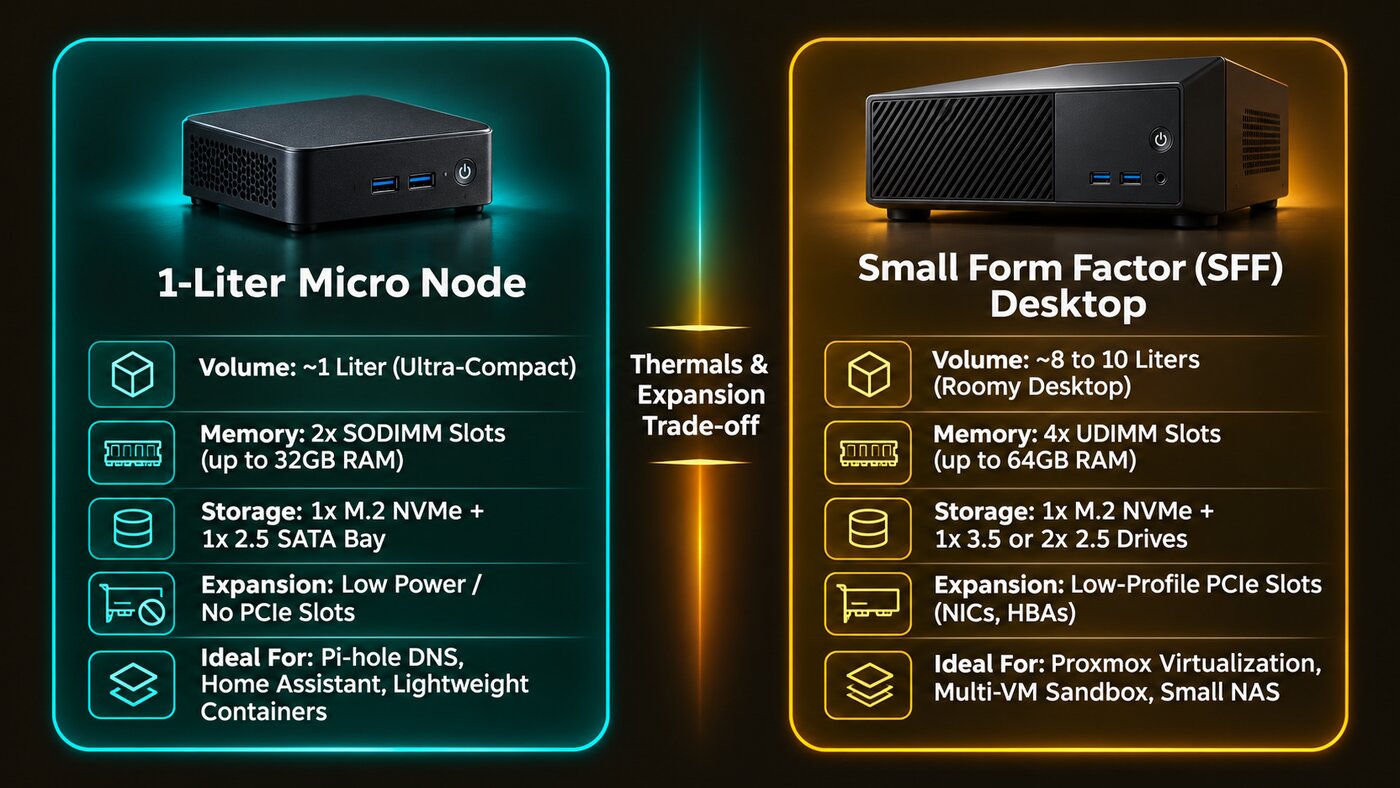
The Dell OptiPlex 7060 Micro illustrates the 1-liter layout: two DDR4 SODIMM slots supporting up to 32GB of RAM, with bays for one M.2 SSD and one 2.5-inch SATA drive. That profile suits network utilities, lightweight containers, or low-draw virtualization.
The larger 7060 small-form-factor desktop expands those limits. Dell’s platform specs provide four desktop UDIMM slots supporting up to 64GB of RAM, low-profile PCIe slots for network or storage cards, and internal bays for an M.2 SSD plus either a 3.5-inch drive or dual 2.5-inch drives, depending on configuration. Expansion-card clearance, airflow, and power delivery set the boundaries.
Use the model’s specifications to plan upgrades, then inventory the individual machine before ordering parts. Pull the cover, check the service tag, verify the exact processor installed, inspect the memory slots, and inventory any missing caddies, brackets, or external power adapters before buying replacements.
Recombine thoughtfully#
Keep the original machine substantially intact, targeting specific bottlenecks with compatible donor parts. Work with the OEM design: a matching memory module clears a RAM bottleneck, a spare SSD replaces a missing boot drive, and an inexpensive SATA caddy puts an idle bay to work. These small interventions yield immediate, visible results: an empty slot filled, a drive secured, and a machine ready for duty.
Match replacement components to specific chassis requirements. The Micro uses laptop-style DDR4 SODIMMs; the SFF requires desktop DDR4 UDIMMs. Check motherboard silk-screening and the vendor service manual to confirm whether an M.2 slot routes PCIe NVMe, SATA, or both. Proprietary front-panel headers, fan connectors, and custom cooling shrouds are design choices to accommodate thoughtfully. Keep factory shrouds in place and work within OEM layouts rather than forcing standard aftermarket parts into proprietary spaces.
Give it something useful to do#
One service is enough to make a first machine worthwhile, and it is a manageable way to learn what you enjoy maintaining.
If you want an immediate, practical win, Pi-hole offers a useful starting project: local DNS filtering that can block many ad-serving domains for configured clients with modest resource requirements: officially needing just 512MB RAM and 2GB free storage. Start with a supported Linux distribution and install Pi-hole following its project documentation. Set a static IP or router DHCP reservation so local devices find the resolver reliably. Point a single phone or laptop at the resolver first to verify domain filtering on that test device before reconfiguring your household router. Testing one client gives you a clean rollback path. Use router and firewall rules to restrict incoming DNS access to your local network while allowing the resolver’s configured upstream traffic. Check those rules before putting the service into everyday use.
For local smart-home control, Home Assistant OS turns a standalone PC into a dedicated automation hub. Verify that your system firmware is set to native UEFI boot mode and confirm the target disk is cleared for a dedicated installation before writing the generic x86-64 image.
To run multiple workloads on one machine, install a hypervisor like Proxmox VE. Ensure hardware virtualization (Intel VT-x or AMD-V) is enabled in BIOS. Proxmox requires 64-bit x86 hardware and reserves at least 2GB of RAM for its base operating system and services; calculate your total memory budget by adding that base overhead to the combined RAM your guest VMs and containers will actively consume.
Virtual machines give you an isolated sandbox for testing packages and scripts without risking your daily environment. Use hypervisor snapshots before major updates to roll back bad software configurations quickly. Keep independent backups on separate storage for recovery from host or storage failure; same-host snapshots share the machine’s exposure to those failures.
Start with a single node before adding more hardware. Adding a second node can come later as an independent playground; size each VM to fit a single node’s RAM. Ordinary clustering coordinates the machines while keeping their memory separate.
Network-attached storage calls for its own hardware layout. Verify physical bay counts, SATA headers, and boot media options before picking a NAS platform. Put salvaged drives through diagnostic utilities and trial workloads before loading them with data. In production, configure mirrored or parity arrays to protect against drive downtime, and maintain an independent backup routine to external media or off-site storage. Mirrored disks provide redundancy against drive failure, while separate backups protect the data itself.
Make the salvage bench a good starting point#
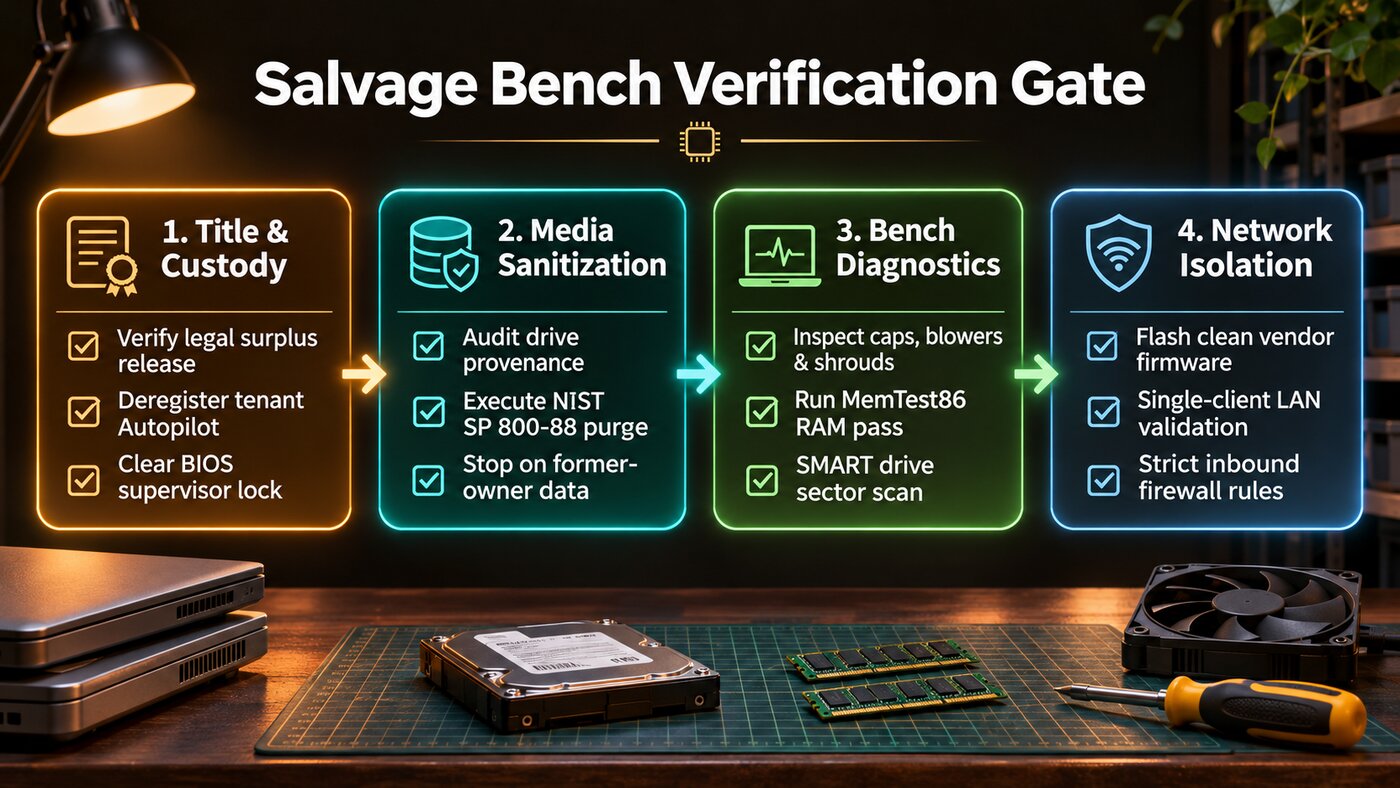
Start with clear authorization and documented release. Equipment in an office recycling area or corporate e-waste pile still belongs to someone. Use authorized surplus channels, obtain a receipt or documented transfer, and confirm whether storage media comes with the machine.
Ask the former owner to resolve administrative ties before taking delivery. Microsoft’s Autopilot guidance emphasizes that devices permanently leaving an organization should be deregistered at the tenant level. Treat tenant deregistration, firmware passwords, and OS installation as separate jobs: reinstalling Linux leaves the first two unresolved. Have the seller or disposing organization confirm tenant deregistration and clear administrative BIOS passwords before taking delivery.
Leave inherited files unopened. Agree on authorized sanitization or drive retention with the owner before reuse; use the agreed sanitization method to address recoverable data left behind by partitioning or reinstalling an OS. NIST’s media-sanitization guidance (SP 800-88 Rev. 2) provides an established framework for rendering target data infeasible to recover. If unexpected former-owner data surfaces, stop and route the media back through the authorized disposition process.
With ownership settled and media cleared, approach the hardware methodically:
- Power down and unplug before opening the chassis. Use electronics-safe dust-cleaning methods, and keep sealed OEM power supplies closed.
- Inspect internal cables, fans, and drive mounts. Inventory installed RAM, storage, and accessories against expectations.
- Run memory and drive diagnostics, then test the machine under a representative workload before depending on it.
- Install supported software and check vendor support sites for applicable firmware updates. Handle firmware updates separately from OS installation to address vulnerabilities in that layer.
Measure the machine you have#
Base your operating budget on real numbers rather than chassis size or component labels. Use a power supply’s nameplate wattage to identify its rated output capacity and CPU TDP to understand thermal design requirements. Measure whole-system electricity use at the wall. Plug the machine into a watt meter to capture baseline idle consumption and active draw under realistic workloads.
For scale, basic arithmetic shows the baseline: a hypothetical constant 10-watt load running 24 hours a day for 365 days consumes 87.6 kilowatt-hours (0.010 kW × 24 hours × 365 days = 87.6 kWh). For a machine running 24/7, estimate annual use from representative average wall power: (average watts / 1,000) × 8,760 hours. For a different schedule, use the expected operating hours. Multiply the resulting kWh by your price per kWh to estimate yearly cost and choose which services to keep running around the clock.
A capable lab grows in stages. Begin with one authorized machine and one useful job. Fit the compatible part, find the right bracket, and bring a reliable service online on your own network.
The real satisfaction of surplus hardware comes down to practical engineering: understanding what a machine can do, matching it to a job, and keeping good hardware working for years to come.